
SEWING MACHINE PARTS - HOME USESEWING MACHINE PARTS - HOME USE
author: Lily Shen
2025-01-08
Free-motion quilting presser feet are used for darning, quilting, or hand-pushing patterns. Lower the feed dog. Use both hands to quilt with the foot controller. Select a straight stitch and place the fabric under the presser foot. Move the fabric at a constant speed to ensure that the stitch length is about 2.0-2.5mm. Adjustable single-sided presser foot is convenient for installing zippers and hems. Install the presser foot and select a straight stitch (left needle position). Position the presser foot so that it is directly above the longer feed dog on the left or right side. Loosen the screw on the back of the single-sided presser foot, move the presser foot left and right, and adjust the presser foot to ensure that the machine needle is aligned with the presser foot opening. Turn the handwheel to ensure that the machine needle does not touch the presser foot when it falls, and then tighten the screw on the back side. Invisible zipper presser foot is used to install invisible zippers. Pull the zipper open and iron the zipper teeth flat with a low-temperature iron to expose the zipper teeth. Iron a layer of iron-on lining on the reverse side of the zippered part. Baste and iron the seam allowance. Align the invisible zipper with the seam and baste both sides of the invisible zipper on the seam allowance. Cut the basting line on the fabric. Insert the zipper teeth into the guide groove of the invisible zipper, and then sew both sides of the zipper close to the zipper teeth. Pull up the zipper head and fix the metal head to the opening of the zipper to prevent the zipper head from falling off.
https://www.zjkwonglam.com/category-accessories.html
The pleating presser foot for thin materials is used to make fine lace and hems, especially for sewing bedspread hem effects. Select a straight stitch, adjust the needle position to the left needle position, the stitch length is greater than 3, and the thread is passed through the hole and placed under the presser foot. Increase the tension of the upper thread (the greater the tension of the upper thread, the more obvious the pleating effect). Place the fabric to be pleated under the presser foot, with the surface facing up. Place the fabric that does not need to be pleated in the guide groove in the middle of the presser foot, with the surface facing down, and align it with the right guide groove of the pleating presser foot (seam allowance is 1cm). When sewing, pay attention to separate the upper and lower layers of fabric, do not clamp them in the same layer, and do not pull the fabric hard during sewing. The super-slip (Teflon) presser foot is used to sew leather, artificial leather and other materials to reduce the resistance of the fabric when passing through. Install the super-slip presser foot directly and adjust the stitches and tension according to the material.
All-steel blind stitch presser foot is used for blind stitching. Adjust the presser foot position and stitches according to the needs of blind stitching.
Transparent presser foot (dense stitch process presser foot) is used to make decorative lines for the outer contour of the applique with fine zigzag stitches. According to the instructions in the operating manual, adjust the presser foot and stitches to ensure that the transparent presser foot can clearly see the sewn pattern.
The wrapping strip presser foot is used to make hemming with a hemming width of less than 7mm. Before installing the presser foot, insert the hemming strip into the guide groove of the presser foot and ensure that the hemming fabric edge is aligned with the guide groove of the presser foot. Pull the hemming strip from the back of the presser foot.
The 1/4" presser foot (without guide groove) is best suited for patchwork and can easily create the 1/4" and 1/8" seam allowances commonly used in patchwork. Install the 1/4" presser foot and select the center straight stitch. Place the two pieces of fabric to be joined face to face and overlap.
Place the right side of the presser foot against the edge of the fabric to be sewn and start sewing to easily create an even 1/4" (6.5mm) seam allowance.
If you want to sew a 1/8" (3.2mm) seam allowance, sew with the left side of the presser foot against the edge of the fabric to be sewn.
Synchronous presser foot During sewing, the double layer of fabric is fed synchronously and evenly. Directly install the synchronous presser foot and adjust the stitch and tension according to the fabric type.
The pleating presser foot for thin materials is used to make fine lace and hems, especially for sewing bedspread hem effects. Select a straight stitch, adjust the needle position to the left needle position, the stitch length is greater than 3, and the thread is passed through the hole and placed under the presser foot. Increase the tension of the upper thread (the greater the tension of the upper thread, the more obvious the pleating effect). Place the fabric to be pleated under the presser foot, with the surface facing up. Place the fabric that does not need to be pleated in the guide groove in the middle of the presser foot, with the surface facing down, and align it with the right guide groove of the pleating presser foot (seam allowance is 1cm). When sewing, pay attention to separate the upper and lower layers of fabric, do not clamp them in the same layer, and do not pull the fabric hard during sewing. The super-slip (Teflon) presser foot is used to sew leather, artificial leather and other materials to reduce the resistance of the fabric when passing through. Install the super-slip presser foot directly and adjust the stitches and tension according to the material.
All-steel blind stitch presser foot is used for blind stitching. Adjust the presser foot position and stitches according to the needs of blind stitching.
Transparent presser foot (dense stitch process presser foot) is used to make decorative lines for the outer contour of the applique with fine zigzag stitches. According to the instructions in the operating manual, adjust the presser foot and stitches to ensure that the transparent presser foot can clearly see the sewn pattern.
The wrapping strip presser foot is used to make hemming with a hemming width of less than 7mm. Before installing the presser foot, insert the hemming strip into the guide groove of the presser foot and ensure that the hemming fabric edge is aligned with the guide groove of the presser foot. Pull the hemming strip from the back of the presser foot.
The 1/4" presser foot (without guide groove) is best suited for patchwork and can easily create the 1/4" and 1/8" seam allowances commonly used in patchwork. Install the 1/4" presser foot and select the center straight stitch. Place the two pieces of fabric to be joined face to face and overlap.
Place the right side of the presser foot against the edge of the fabric to be sewn and start sewing to easily create an even 1/4" (6.5mm) seam allowance.
If you want to sew a 1/8" (3.2mm) seam allowance, sew with the left side of the presser foot against the edge of the fabric to be sewn.
Synchronous presser foot During sewing, the double layer of fabric is fed synchronously and evenly. Directly install the synchronous presser foot and adjust the stitch and tension according to the fabric type.
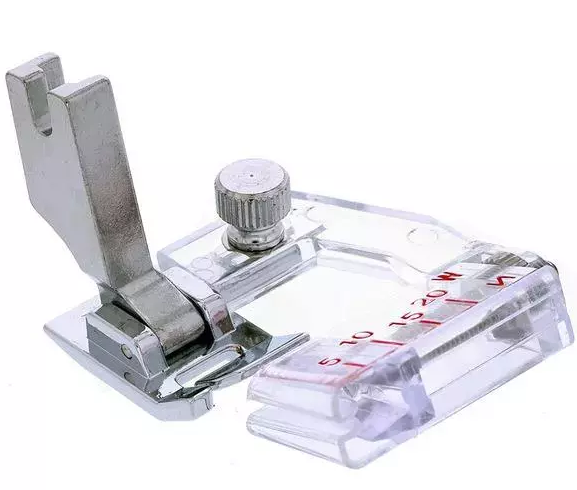
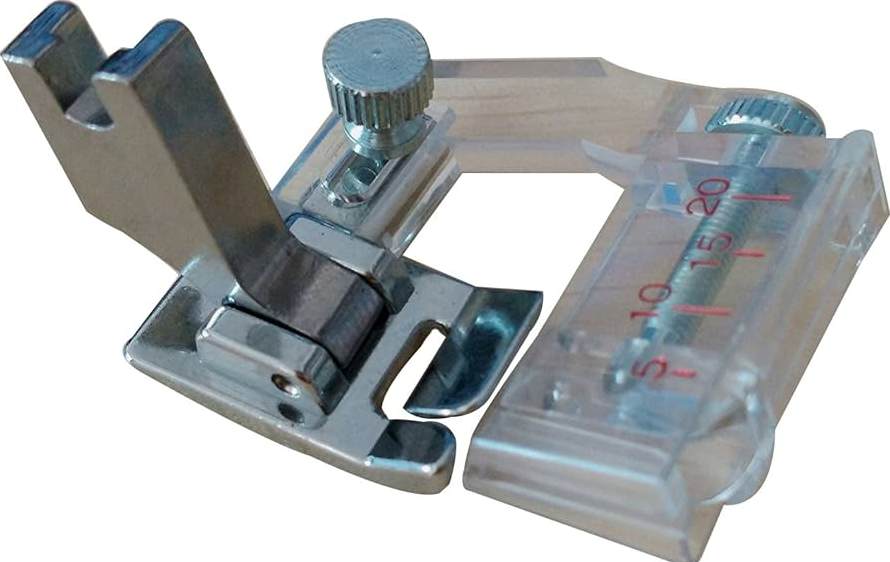
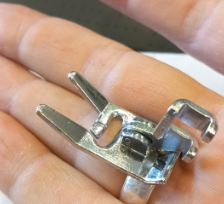
The hemming presser foot with a cutter cuts the edges while hemming to make the edges neat. Install the presser foot, select the appropriate stitch and needle position, start sewing and cut the fabric.
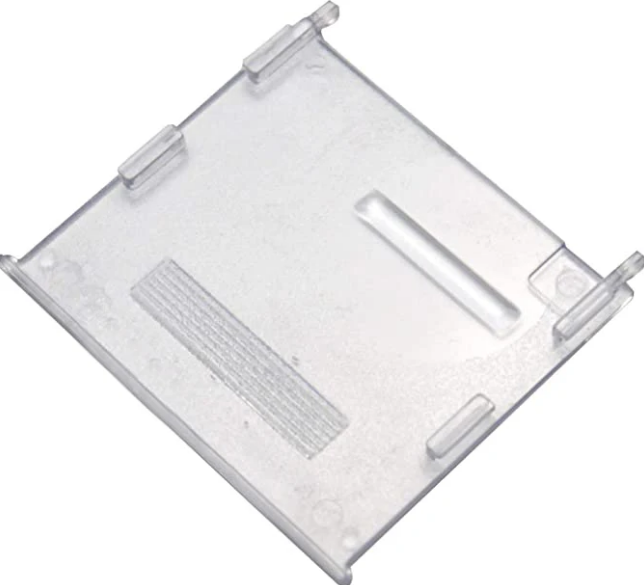
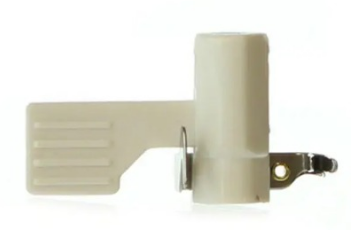
The push plate is located below the needle plate of the sewing machine, and is mainly used to help the sewer control the direction and position of the fabric. Here is how to use the push plate:
1. Before use, make sure the push plate is in the correct position. Normally, the push plate should be parallel to the needle plate and at a moderate distance from the needle eye. Too far or too close a distance may affect the sewing effect.
2. During the sewing process, gently control the strength of the push plate. Excessive force may cause the fabric to stretch and deform, while insufficient force may prevent the fabric from moving smoothly.
3. Old-fashioned sewing machines are usually equipped with foot controllers to adjust the sewing speed. When using the push plate, the rhythm of the foot should be reasonably matched to make the sewing process smoother.
The push plate is located below the needle plate of the sewing machine, and is mainly used to help the sewer control the direction and position of the fabric. Here is how to use the push plate:
1. Before use, make sure the push plate is in the correct position. Normally, the push plate should be parallel to the needle plate and at a moderate distance from the needle eye. Too far or too close a distance may affect the sewing effect.
2. During the sewing process, gently control the strength of the push plate. Excessive force may cause the fabric to stretch and deform, while insufficient force may prevent the fabric from moving smoothly.
3. Old-fashioned sewing machines are usually equipped with foot controllers to adjust the sewing speed. When using the push plate, the rhythm of the foot should be reasonably matched to make the sewing process smoother.
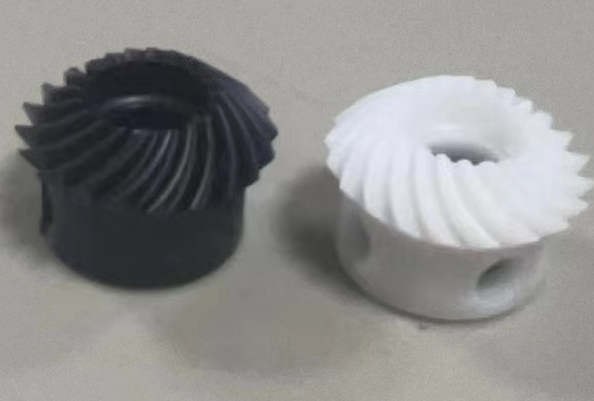
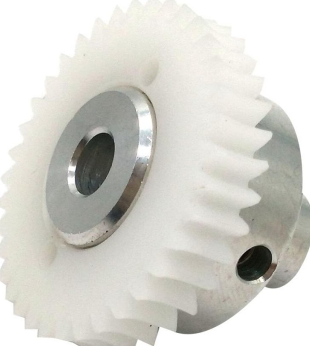
Gears are an important part of the sewing machine transmission system, used to transmit power and adjust the sewing speed. Common gears include driving gears, driven gears, and reversing gears.
1. The driving gear is usually driven directly by the motor to drive the driven gear to rotate.
2. The driven gear meshes with the driving gear and transmits power to various parts of the sewing machine through rotation
3. The reversing gear is used to change the transmission direction so that the various parts of the sewing machine can work together.
1. The driving gear is usually driven directly by the motor to drive the driven gear to rotate.
2. The driven gear meshes with the driving gear and transmits power to various parts of the sewing machine through rotation
3. The reversing gear is used to change the transmission direction so that the various parts of the sewing machine can work together.
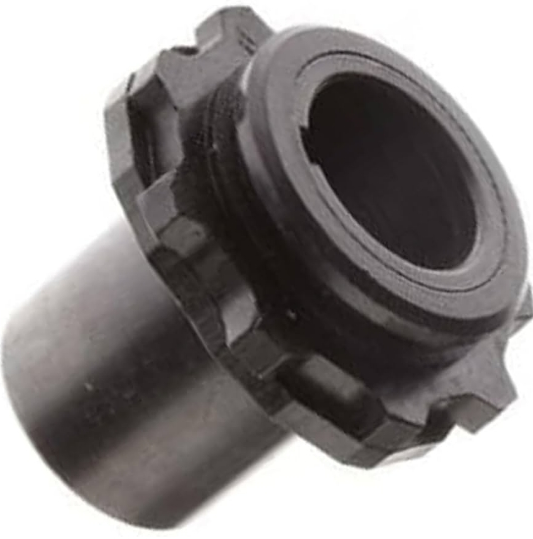
The needle chuck is an important part used to fix the sewing needle on the sewing machine. It clamps the needle bar of the sewing needle so that the needle can move up and down stably with the rotation of the sewing machine.
1. The needle chuck usually consists of a clamping part, an adjusting part and a fixing part. The clamping part is used to clamp the sewing needle, the adjusting part is used to adjust the height of the needle, and the fixing part is used to fix the needle chuck on the sewing machine.
2. When replacing the sewing needle, you need to loosen the fixing screw of the needle chuck first, then remove the old needle from the clamping part, and then insert and clamp the new needle. Note that the model and specification of the new needle should match the sewing machine.
3. Check the wear of the needle chuck regularly. If it is loose or damaged, it should be tightened or replaced in time. Clean the dust and oil around the needle clamp to ensure that the needle clamp can stably hold the sewing needle.
1. The needle chuck usually consists of a clamping part, an adjusting part and a fixing part. The clamping part is used to clamp the sewing needle, the adjusting part is used to adjust the height of the needle, and the fixing part is used to fix the needle chuck on the sewing machine.
2. When replacing the sewing needle, you need to loosen the fixing screw of the needle chuck first, then remove the old needle from the clamping part, and then insert and clamp the new needle. Note that the model and specification of the new needle should match the sewing machine.
3. Check the wear of the needle chuck regularly. If it is loose or damaged, it should be tightened or replaced in time. Clean the dust and oil around the needle clamp to ensure that the needle clamp can stably hold the sewing needle.
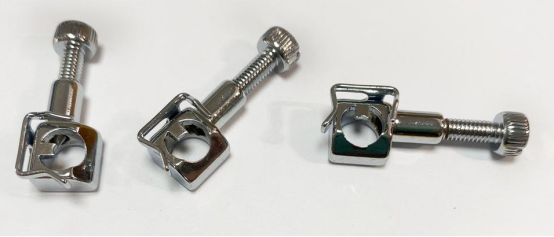
The needle threader is a tool on the sewing machine used to guide the thread through various components. It is usually located on the top of the sewing machine and consists of a series of wires and guide components.
1. The needle threader usually consists of a wire hook, a wire clamp, a wire rack and other parts. The wire hook is used to guide the thread through the needle eye and bobbin case, the wire clamp is used to fix the thread head, and the wire rack is used to support and guide the thread through various components.
2. Threading steps Pass the thread through the wire rack, and then through the wire hook, wire clamp and needle eye in turn. Pass the thread through the wire hole of the bobbin case and fix it on the bobbin case rack. Pull the thread head to ensure that the thread can pass smoothly through various components.
1. The needle threader usually consists of a wire hook, a wire clamp, a wire rack and other parts. The wire hook is used to guide the thread through the needle eye and bobbin case, the wire clamp is used to fix the thread head, and the wire rack is used to support and guide the thread through various components.
2. Threading steps Pass the thread through the wire rack, and then through the wire hook, wire clamp and needle eye in turn. Pass the thread through the wire hole of the bobbin case and fix it on the bobbin case rack. Pull the thread head to ensure that the thread can pass smoothly through various components.
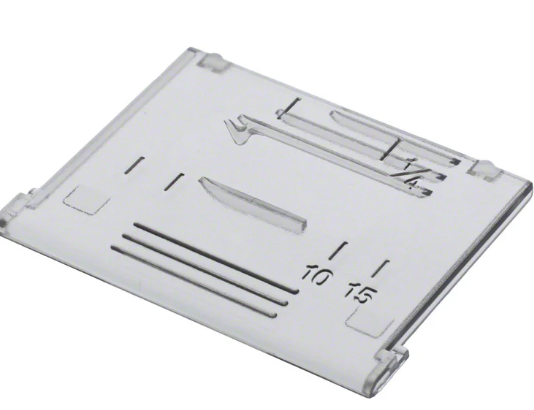
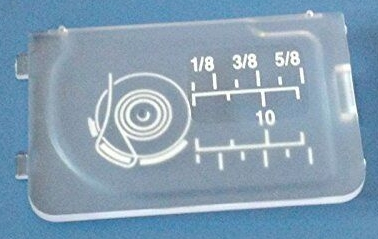
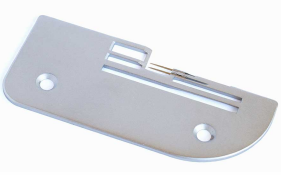
The needle plate is a part of the sewing machine used to support the fabric and guide the sewing needle through. It is usually located at the bottom of the sewing machine and is made of metal or plastic.
1. There are usually multiple needle holes on the needle plate to guide the sewing needle through the fabric. At the same time, there may be other auxiliary parts on the needle plate, such as guide grooves, scale lines, etc.
2. Place the fabric on the needle plate to ensure that the fabric is flat and does not clog the needle hole. Adjust the needle position of the sewing machine so that the sewing needle can accurately pass through the fabric and the needle hole.
3. Regularly check whether the needle hole on the needle plate is clogged or worn. If it is clogged or worn, it should be cleaned or replaced in time. Clean the dust and oil on the surface of the needle plate to ensure that the needle plate can support the fabric flatly.
1. There are usually multiple needle holes on the needle plate to guide the sewing needle through the fabric. At the same time, there may be other auxiliary parts on the needle plate, such as guide grooves, scale lines, etc.
2. Place the fabric on the needle plate to ensure that the fabric is flat and does not clog the needle hole. Adjust the needle position of the sewing machine so that the sewing needle can accurately pass through the fabric and the needle hole.
3. Regularly check whether the needle hole on the needle plate is clogged or worn. If it is clogged or worn, it should be cleaned or replaced in time. Clean the dust and oil on the surface of the needle plate to ensure that the needle plate can support the fabric flatly.
Each part of a home sewing machine has its own unique function and usage. By understanding the structure and usage of these parts, sewing enthusiasts can better master sewing skills and improve sewing efficiency and quality. At the same time, regular maintenance and care of these parts is also the key to ensure the long-term stable operation of the sewing machine. I hope this article can provide some useful reference and help for users of home sewing machines.
If you need to buy sewing machine,you could choose KWONGLAM!
https://www.zjkwonglam.com/accessories.html
【understand us】
Youtube://www.youtube.com/@kwonglam-2012
Facebook: //www.facebook.com/kwonglamsew
Website://www.zjkwonglam.com/
【understand us】
Youtube://www.youtube.com/@kwonglam-2012
Facebook: //www.facebook.com/kwonglamsew
Website://www.zjkwonglam.com/
Rising star KWONGLAM:Leading the new trend of the industry with excellent performance and price advantages
Sewing machine spare parts - sewing machine motors
Related Article
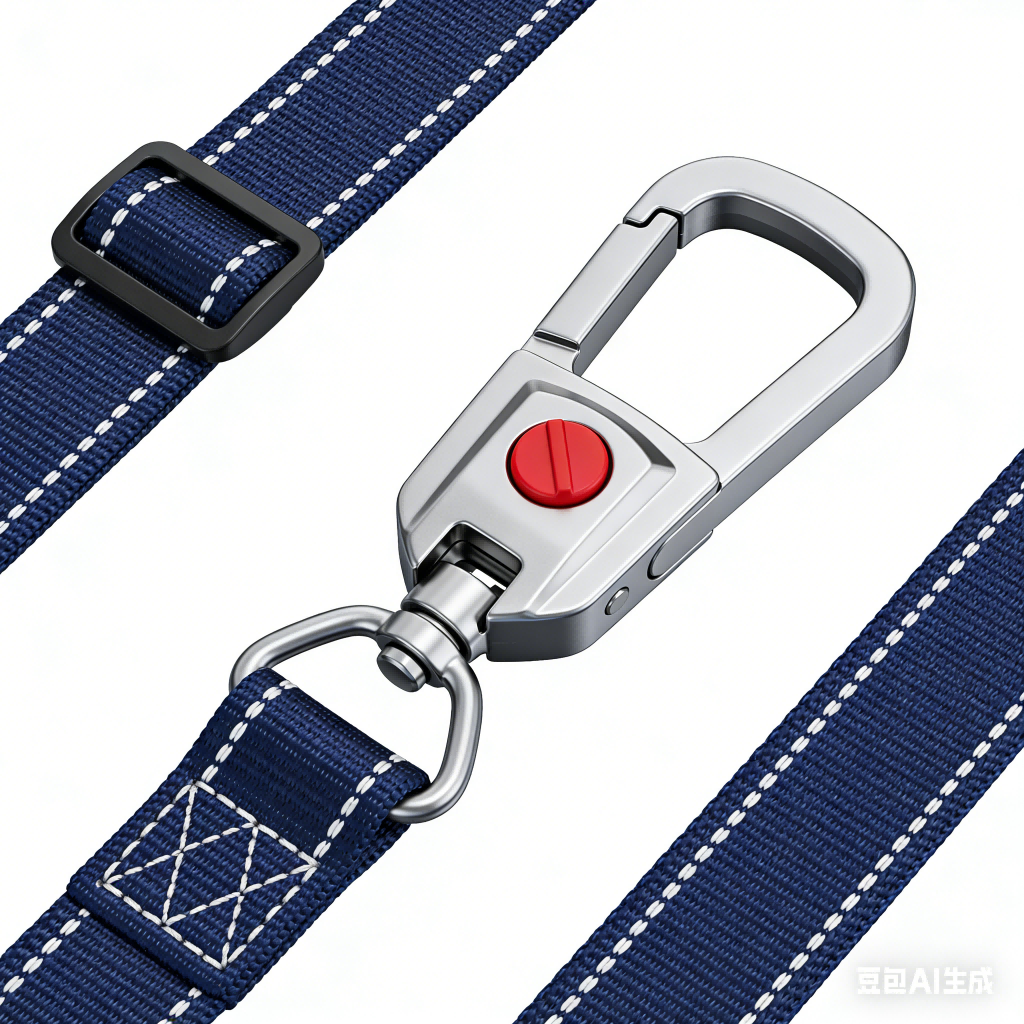
Explore how Kwonglam's KL-430D-0806HP Heavy-Duty Webbing & Strap Pattern Sewing Machine elevates thick material sewing with advanced features like a six-fold rotary hook, motor-controlled presser foot, and double rotary hook, optimizing processes for seat belts, harnesses, and cargo straps.
Heavy-Duty Webbing Sewing Solved: The KL-430D-0806HP Pattern Machine
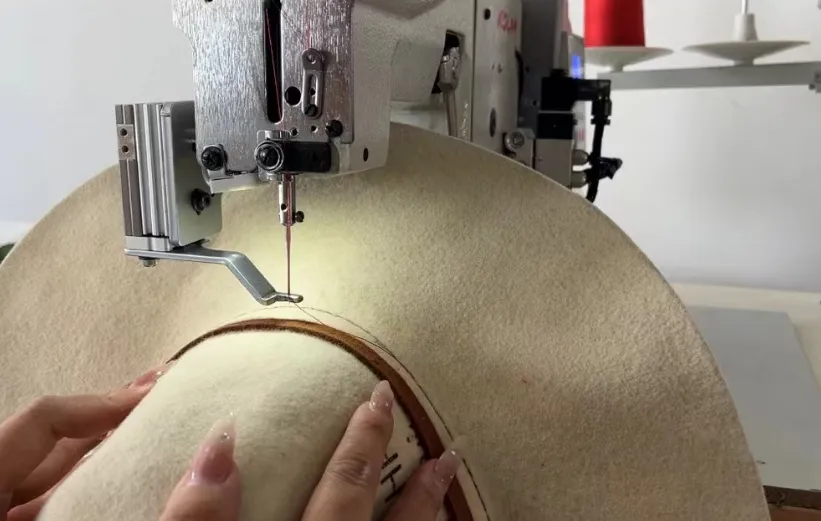
In the world of industrial sewing equipment, true value lies not in selling standard products, but in providing precise solutions. When a client approached us with a challenge in sewing cowboy hatbands, KOLAM reaffirmed its core philosophy of being "customer-centric" by transforming a universal tacking machine into the KL-3306D Electronic Special Machine for Tacking Hatbands.
Professional Customization: Sewing "Invisible" Strength for the Rugged Cowboy Hat

Kwonglam provides precise and reliable button sewing solutions for the global garment industry. Our product range covers cost-effective, fully automatic, and highly flexible machines, designed to boost efficiency and reduce costs. We empower your business success with superior stability and versatility, acting as your trusted global partner, not just an equipment supplier.
Kwonglam Global Button Sewing Solutions: Empowering Your Business Success with Precision Products and Partnership
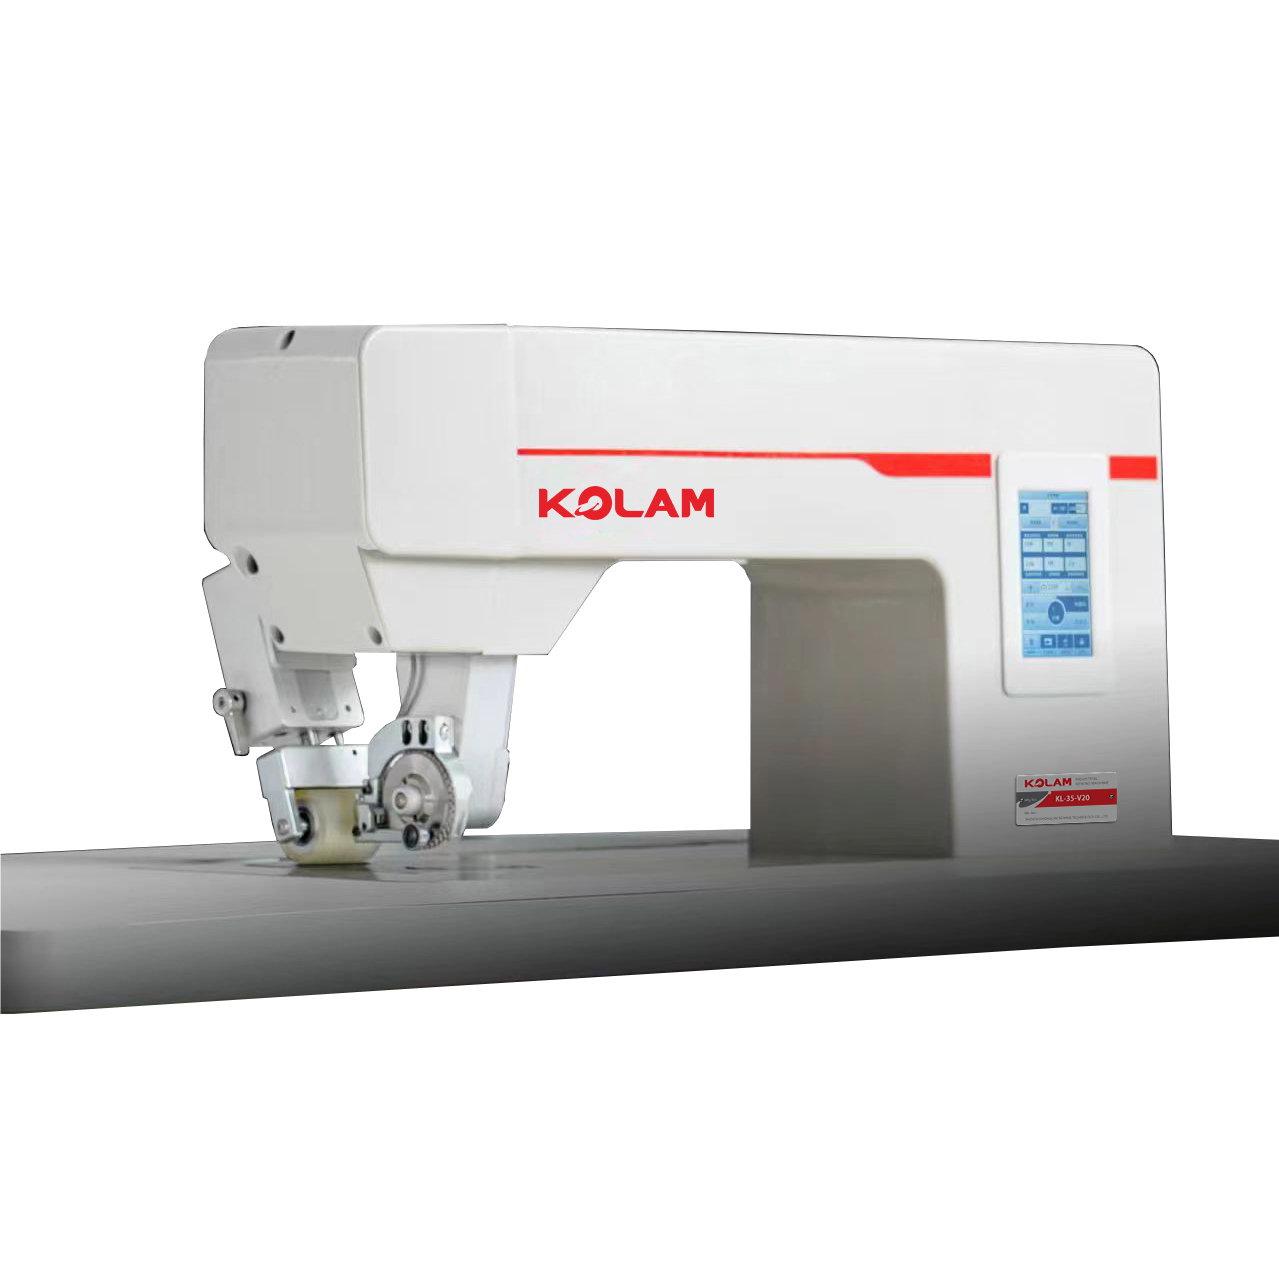
TAIZHOU KWONGLAM SEWING presents the KL35-V20 ultrasonic sewing machine – the intelligent solution for medical textiles. Ensure flawless hydrostatic protection, tensile strength, and sterile seams for surgical gowns and drapes. Explore plug-and-play, contaminant-free manufacturing.
KL35-V20 Ultrasonic Sewing Machine: Revolutionizing Medical Textiles with Intelligent Sealing Technology