
Category
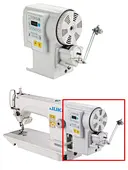

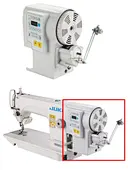
T05 Full Function Direct Drive Motor
T05
Apply to all kinds of lockstitch and zig-zag sewing machine
Quantity:
Description:
1.Apply to the antomatic lockstitch machine of JUKI,BROTHRT and SUNSTAR;
2.Multifunction MMI(man-machine interface),more controllable and simple operation;
3.Integrative structure,equipped with bobbin winder.No need to shorten the sharf,remian the mechanical structure and performance of sewing machine.Easier installation and more reliable performance;
4.Powered by high performance direct-drive servo motor.Powerful torque,low noise,more stable quality and more energe efficient;
5.Protections:Over current,over voltage,locked rotor etc,safety and stability guarantee in operation;

Application:
Apply to all kinds of lockstitch and zig-zag sewing machine;
2.tighten the screws;
3.Put the plane of the machine head axis up;
4.The coupling convex faces the machine head (the dot on the front is placed in the same plane as the machine head axis);
5.The convex position of the coupling rubber sleeve is aligned with the concave position of the coupling;
6.Install the motor (the concave position of the motor should be aligned with the convex position of the rubber sleeve);
7.Install the hexagon socket screw (the screw should be equipped with a meson);
8.The axis plane is facing upwards, and point P of the hand wheel is aligned with the horizontal line of the motor;
9.Tighten the upper screw first, and then tighten the other screws;
10.Power on the test machine;
Specification:
| Model | Application | Speed | Voltage | Power | Frequency | |
| T05 | Lockstitch | JUKI 8700/5550 Series | 100-5500 r/min | 180-240 V | 550W/750W | 50/60Hz |
| SUNSTAR 250A Series | ||||||
| PROTEX B211-933SV Series | ||||||
| TYPICAL 6180 Series | ||||||
| BROTHER 737 Series | ||||||
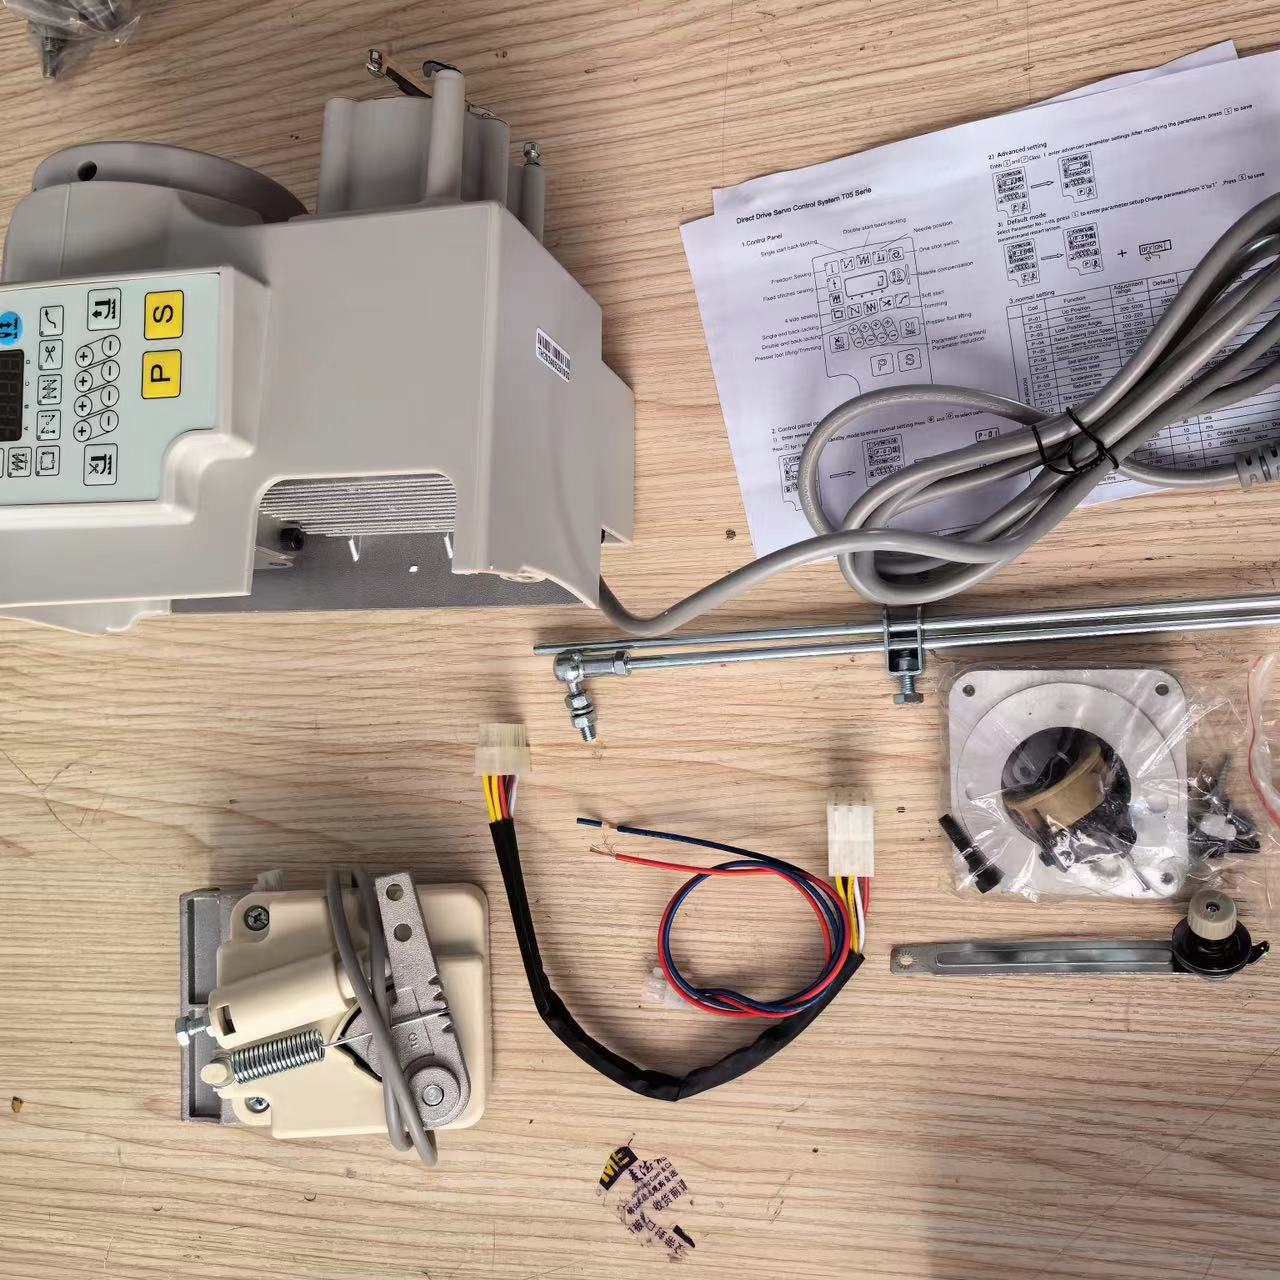
Parts:
Installation:
1.Install the fixing plate on the machine head;
2.tighten the screws;
3.Put the plane of the machine head axis up;
4.The coupling convex faces the machine head (the dot on the front is placed in the same plane as the machine head axis);
5.The convex position of the coupling rubber sleeve is aligned with the concave position of the coupling;
6.Install the motor (the concave position of the motor should be aligned with the convex position of the rubber sleeve);
7.Install the hexagon socket screw (the screw should be equipped with a meson);
8.The axis plane is facing upwards, and point P of the hand wheel is aligned with the horizontal line of the motor;
9.Tighten the upper screw first, and then tighten the other screws;
10.Power on the test machine;
Installation video:
Related Products:
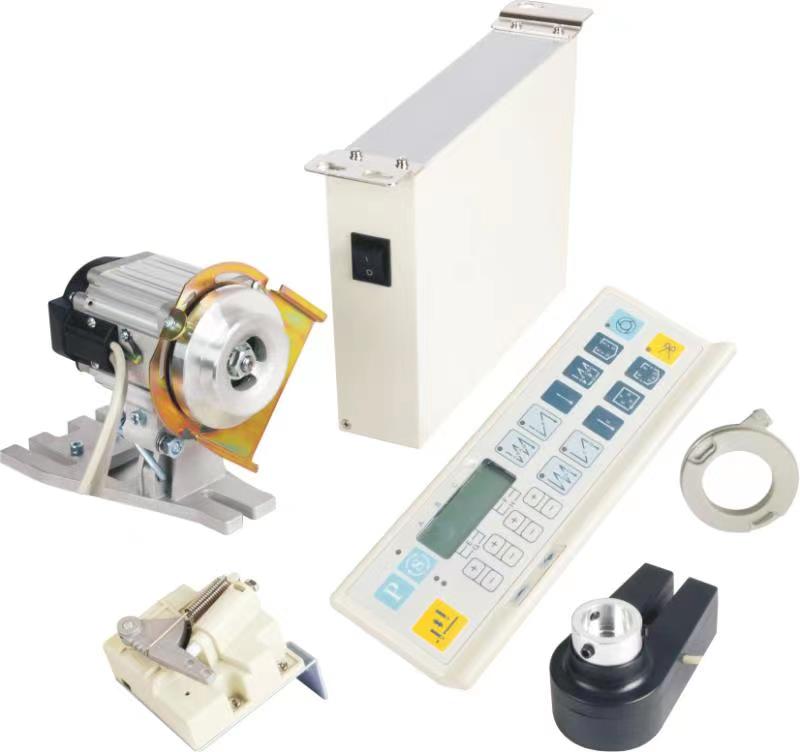
Recommend Products
 KL-63H Household Sewing Machine MotorHousehold Sewing Machine MotorKL-63HSend Inquiry
 WR595 Electronic Full Function Servo MotorFull automatic belt type lockstitch servo control systemWR595Send Inquiry
 WR587G Full Function Direct Drive Control System For Lockstitch MachineSuit for all belt type lockstitch machine to direct drive machine,such as JUKI,BROTHER,SIRUBA,SUNSTAR,DOLDEN WHEEL Brand and other brandWR587GSend Inquiry
 DD1 Single Direct Drive Motor For Industrial Sewing MachineDD1Send Inquiry
Send Message